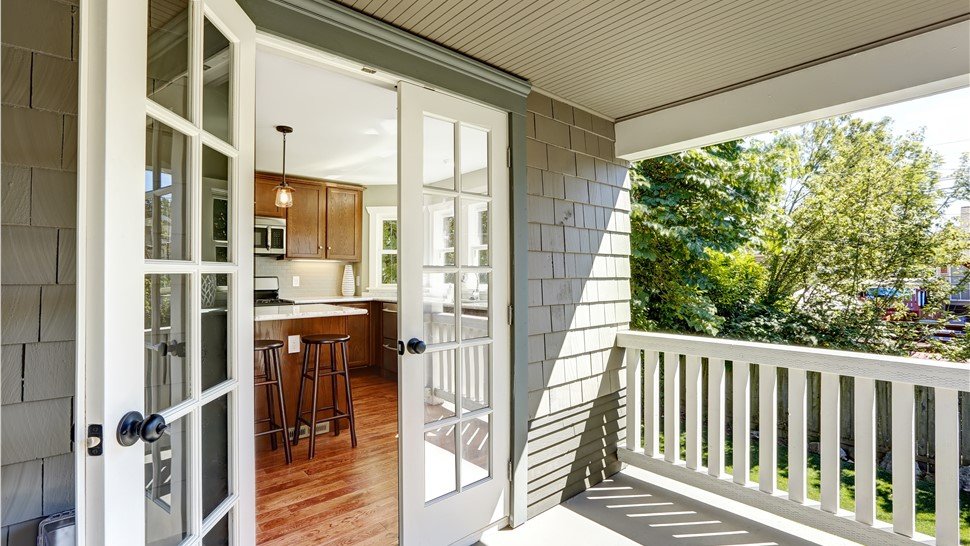
A Step-by-Step Guide to Installing French Doors in Your Home
French doors are a timeless and elegant addition to any home, offering a perfect blend of functionality and aesthetics. Installing French doors may seem like a daunting task, but with the right tools and a systematic approach, you can transform your space with these stylish doors. In this comprehensive guide, we’ll take you through the step-by-step process of installing French doors, ensuring a successful and rewarding home improvement project.
Tools and Materials Needed:
Before diving into the installation process, gather the necessary tools and materials to make the job smoother and more efficient. Here’s what you’ll need:
- French doors with a complete installation kit
- Screwdriver
- Level
- Measuring tape
- Pencil
- Shims
- Circular saw
- Caulk gun
- Wood putty
- Safety glasses
- Hammer
- Nails
- Sealant
Step 1: Measure and Prepare
- Measure the Opening:
- Measure the width and height of the door opening accurately.
- Ensure that there is enough space for the French doors to swing freely.
- Check the Floor:
- Ensure the floor is level. If not, you may need to use shims during installation.
Step 2: Remove Existing Door and Frame
- Remove the Old Door:
- Unscrew and remove the existing door from the frame.
- Carefully take out any trim around the door.
- Dismantle the Frame:
- Use a pry bar to carefully remove the door frame.
- Clean any debris or nails left in the opening.
Step 3: Prepare the Opening
- Check the Opening Size:
- Ensure the door opening matches the dimensions of the French doors.
- Install the Sill Pan:
- Place a sill pan at the bottom of the opening to prevent water damage.
Step 4: Install the French Doors
- Set the Doors in Place:
- Place the French doors in the opening.
- Ensure the doors are centered and level.
- Secure the Frame:
- Attach the door frame to the opening using screws provided in the installation kit.
- Use shims to make adjustments and ensure the frame is level.
- Install the Hinges:
- Attach the hinges to the door frame according to the manufacturer’s instructions.
- Double-check the alignment of the doors.
Step 5: Weatherproofing
- Apply Sealant:
- Run a bead of sealant along the exterior edges of the door frame.
- This helps prevent drafts and water infiltration.
- Install Weatherstripping:
- Attach weatherstripping around the perimeter of the door frame to enhance insulation.
Step 6: Finishing Touches
- Fill Gaps with Caulk:
- Use a caulk gun to fill any gaps between the door frame and the wall.
- Add Trim:
- Install trim around the doors for a polished look.
- Secure trim with nails and putty over the holes.
Step 7: Test and Adjust
- Check for Smooth Operation:
- Open and close the French doors to ensure they operate smoothly.
- Make any necessary adjustments to hinges or shims.
- Verify Locking Mechanism:
- Test the locking mechanism to ensure it functions correctly.
Conclusion:
Installing French doors is a rewarding DIY project that can enhance the aesthetic appeal and functionality of your home. By following these step-by-step instructions and paying attention to details, you can enjoy the beauty of French doors while adding value to your living space. Remember to take your time, measure accurately, and seek assistance if needed, ensuring a successful installation that you can be proud of for years to come.


