Introduction:
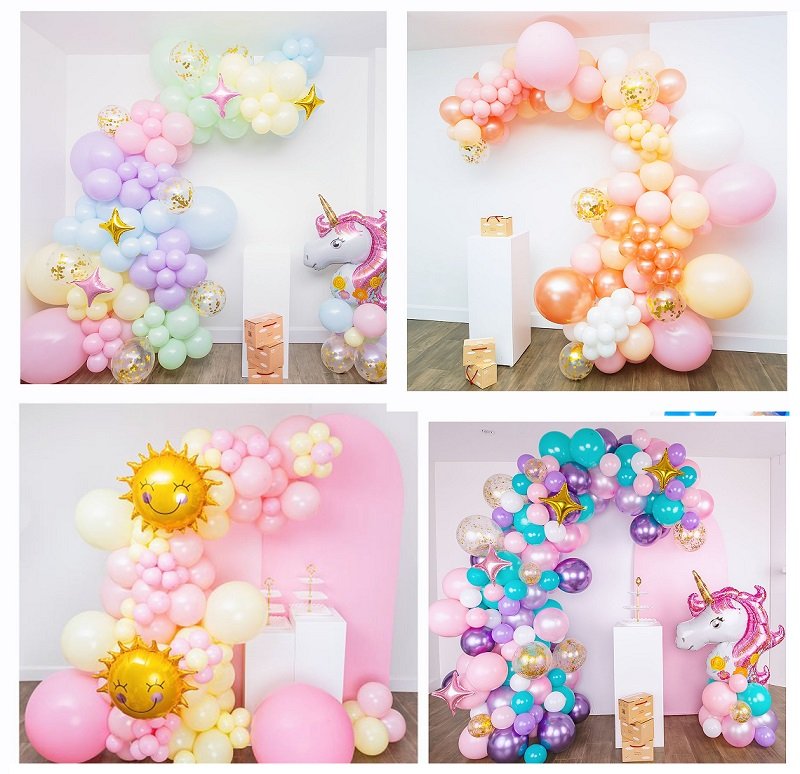
Transforming your space with a vibrant and eye-catching balloon garland doesn’t have to be a daunting task. In just a few simple steps, you can create a stunning DIY balloon garland that adds a festive touch to any celebration. In this guide, we’ll walk you through the process in three easy steps, detailing the time commitment and estimated cost for this delightful and budget-friendly decor.
Here Is the Video By Shimmer & Confetti
Step 1: Gather Your Materials and Inflate Balloons
Time: 20-30 minutes
Before diving into the creative process, gather all the materials you’ll need for your DIY balloon garland:
- Balloons in various colors and sizes
- Balloon pump (optional but recommended for efficiency)
- Balloon decorating strip (plastic strip with holes for easy balloon attachment)
- Command hooks or adhesive hooks for hanging
- String or fishing line for hanging (if not using hooks)
Now, start inflating your balloons. Consider using a variety of colors to create an engaging and dynamic visual effect. The balloon pump will save time and effort, making the inflation process smoother. Aim for a mix of large and small balloons to add depth to your garland.
Step 2: Assemble the Balloon Garland
Time: 30-45 minutes
Once all your balloons are inflated, it’s time to assemble the garland. Follow these simple steps:
- Cut the Decorating Strip: Measure the length you want for your garland and cut the decorating strip accordingly. This strip will be the foundation for attaching the balloons.
- Insert Balloons: Take each inflated balloon and push the knot through the hole in the decorating strip, securing it in place. Leave a few inches of space between each balloon for a balanced look.
- Create Layers: As you attach balloons, experiment with layering to add dimension. Overlapping balloons and alternating sizes will give your garland a full and dynamic appearance.
- Adjust as Needed: Don’t hesitate to rearrange balloons or add more to achieve the desired shape and fullness. The decorating strip allows for easy adjustments.
Step 3: Hang and Enjoy Your DIY Balloon Garland
Time: 15-20 minutes
With your garland assembled, it’s time to hang it in your chosen space. Follow these final steps:
- Secure Hooks: If you’re using hooks, place them on the walls or ceiling where you want your garland to hang. For added flexibility, use Command hooks that won’t damage surfaces.
- Attach the Garland: Once your hooks are in place, hang the garland by draping it over the hooks. If you’re not using hooks, you can tie the ends of the decorating strip to a string or fishing line and hang it securely.
- Finishing Touches: Adjust the balloons as needed and trim any excess decorating strip. Stand back and admire your DIY balloon garland, ready to be a focal point at your celebration.
Estimated Cost: Creating a DIY balloon garland is not only easy but also budget-friendly. The cost will vary based on the number and size of balloons you purchase. On average, expect to spend around $20-$30 for a visually impactful garland. This cost includes balloons, a balloon pump (if needed), the decorating strip, and any additional accessories.
Conclusion: In just a few simple steps and with minimal time and cost investment, you can elevate your party decor with a stunning DIY balloon garland. Whether it’s for a birthday celebration, baby shower, or any festive occasion, this easy and creative project allows you to personalize your space and create lasting memories. Let your imagination soar as you design a balloon garland that adds a touch of joy to your next event!

